In an earlier post I demonstrated how I had modified one of my kayaks for fishing and now I am going to show how I modified my Perception Prodigy to use it for fishing.
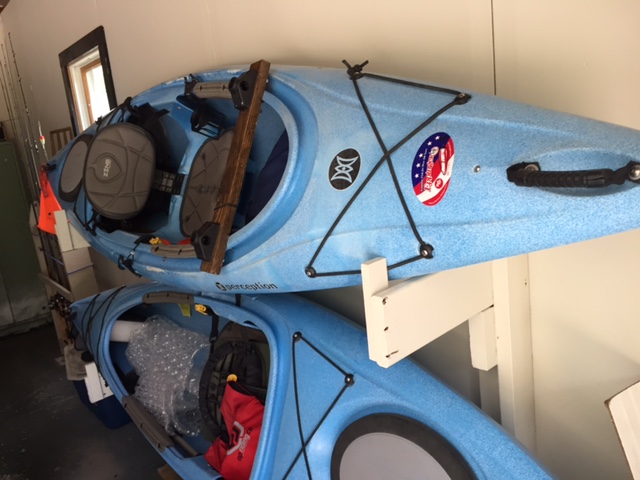
This particular type of kayak is not easy to mount rod holders on due to the design of the gunwales.

The portable type that fastens to the gunwale does not work well due to the configuration (see figure 1) and most permanent rod mounts require a 2″ by 4″ mounting surface.

There is a setup made by Scotty that would work but the cost was more then I wanted to pay and also it was made for light to medium use. Due to the fact that in my area we have some large catfish, northern pike and salmon I wanted to go with a heavier application.
The cockpit of the Prodigy is quite long so I opted to go with the application as shown below.
The base plate for these mounts are 2″ by 4″. I mounted them on a piece of treated lumber that was 5/4 by 22 by 2 3/4 which provided strength for the mount and also allowed for distance between the rod holders.

In order to drill the holes required to mount the board to the kayak you first need to determine where you want it mounted from your position in the cockpit. Once that is determined drill a hole in each gunwale. Next place the mounting board in position and anchor it in place with clamps and then using a drill mark the position of the hole in the underside of the board. Next remove the board and with a larger bit drill the hole in the desired spot.

With the holes now drilled in the board drill a countersink and then dummy mount the board and place the base plates on the board and mark the hole positions. Next remove the board and the base plates and drill out the holes.
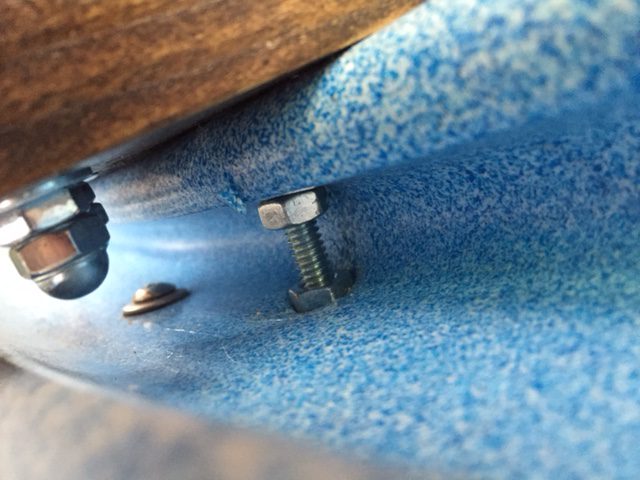
I then sanded the board, stained and sprayed it using a high gloss plastic. Next mount the board as illustrated. I used washers to add strength to the first curve and then used a nut in the outside curves. The one tightens the washers to the board and the other tightens to the nut on the underside. On the underside use a washer and a nut for added strength. You will want to makes sure this is securely in place.
Inside view

Outside view
Next mount the base plates on the board and secure in place. Make sure that all connections are tight. As a final step place cap nuts on all screws to prevent scrapped knees.
One other item I picked up is this nifty device that can fit to the back of your seat or attach to the kayak. This will hold two rods in an upright position. There is also a pocket in the center where one can place food, bug spray and sunscreen. These are available at most marine facilities that sell kayaks.

The whole setup was done more as a prototype and will probably be replaced with a more attractive finished product. This worked exceedingly well during the test phase. One other improvement I may attempt to employ in the platform for the rod holder is a place to hold my depth finder.
Anyway if you have a kayak with this type of gunwale give it a try.
